How to Properly Shingle a Hip Roof with 4 Dormers – The Ultimate Guide

A dormer roof is pretty common in American households. Apart from looking nice and improving the curb appeal of your home, it is also a practical solution, bringing more space to the home’s interior and turning an attic into a living space. A hip roof has a unique design, and when you combine it with four dormers, it becomes something even more special.
Of course, this beauty comes at a price, and not just in terms of monetary value. The installation process for a hip roof with four dormers is very complex, and you need to do it properly if you want to ensure durability, prevent leaks, and keep the structural integrity intact.
If you are wondering how to shingle a hip roof with four dormers, you’ve come to the right place. Let’s get started.
Let’s Define a Hip Roof with Dormers and See What It’s All About

A hip roof is a type of roof with all four sides sloped downward. It’s the type of roof you used to draw on houses when you were a kid. The sloped sides are usually not very steep, and you can see triangular shapes on all four sides of the roof.
Dormers are simply defined as window areas projected vertically from a sloped roof. There are several dormer types, including gable dormers, barrel dormers, shed dormers, and many others, all of which represent a similar solution with many variations.
These will add light and ventilation and improve the aesthetic appeal of your property, but integrating them into the main roof is tricky. That’s why we receommend having the right professionals by your side.
With the definitions out of the way, let’s see what you need to do to prepare a hip roof with dormers for shingling.
Shingle a Hip Roof with 4 Dormers: The Preparation Phase

When preparing to shingle your roof, the first thing to do is to calculate the roof area and estimate the square footage and the amount of roofing materials you will need.
To help you even further, we have prepared a tools and materials checklist that you can use:
- You need asphalt or architectural shingles (depending on your preferences), but you will need the correct amount depending on the surface area. Get a few dozen extra shingles, just in case.
- You will also need a waterproof roof underlayment membrane. It’s a complicated task, so ask for an ice and water protector at your local hardware store.
- Third on the list is roofing cement. The importance of this material is self-explanatory. Just make sure you get enough.
- Next, you will need a roof underlayment solution. That will provide an additional water protection layer, and you cannot have enough of them.
- Next on the list is a roof flashing solution. Roofers use flashing to direct water away from the most important areas of the roof. Flashing is mostly installed around specific features like vents, dormers, the chimney, etc.
- A seemingly unexpected addition to the list is a chalk line. You need it to create straight and level reference lines to help you arrange the shingles. Without it, laying the shingles will be challenging and nearly impossible.
- Last but not least, you need cutting tools. We won’t elaborate much here. Just make sure that they are properly sharpened.
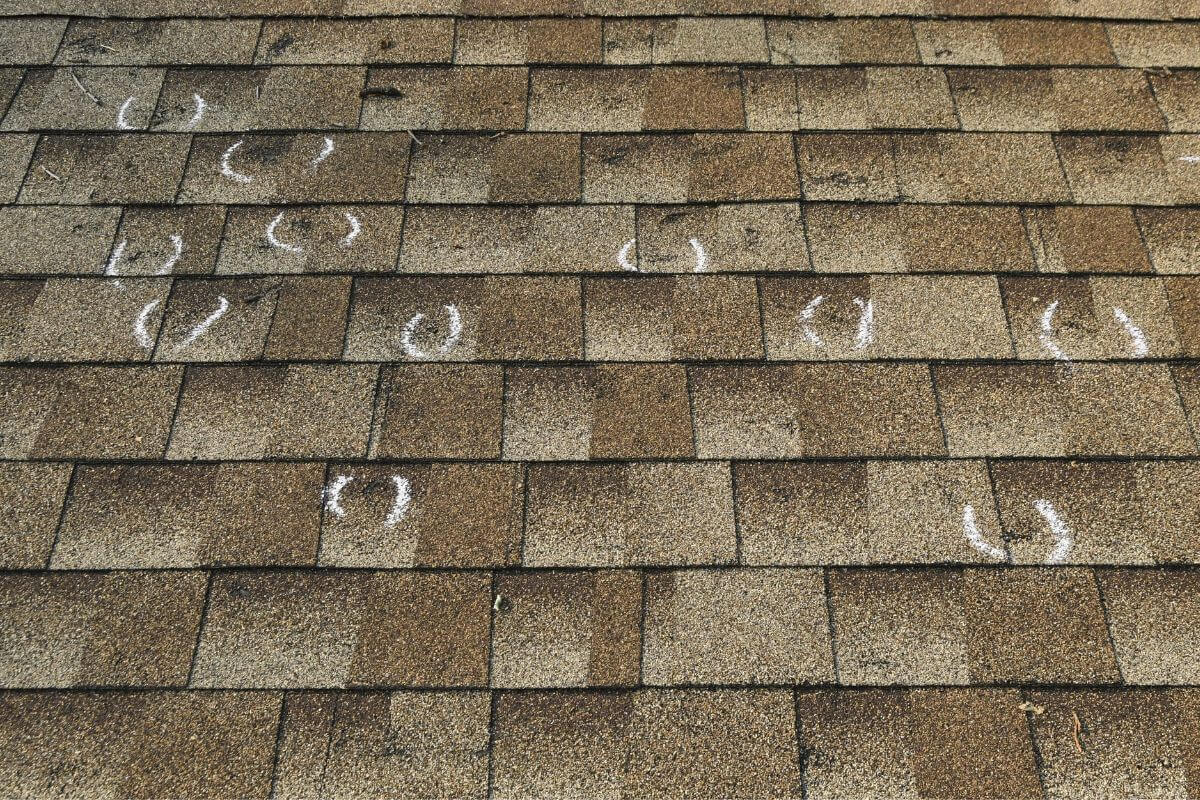
We cannot stress enough the importance of inspecting the roof deck for stability. Before you start, you should do your best to address and fix any irregularities and damages.
Installation Phase 1: Installing the Ice and Water Protector and Underlayment

Before you start installing anything, inspect the roof area and ensure that the roof deck is free of damage. Then, clean the surface of debris and remove all the loose nails.
Step 1: Measure the areas where you are planning to add water protection. These are usually roof edges (eaves), valleys, and areas around dormers and chimnies.
Step 2: Properly position the ice and water protection products in the correct area and unroll them. After that, you can peel the protective layer and start sticking the adhesive side one small bit at a time. Be sure that each row overlaps with the previous row. Then, just follow the natural downward slope of your roof.
Step 3: When you reach an obstruction, such as a dormer or a chimney, measure it and cut the protector to fit around it.
Step 4: Even though the ice and water protector’s adhesive layer is pretty sticky, it is wise to secure the edges with nails just to be on the safe side.
Step 5: Now that this is done, you can start adding the underlayment. Continue where you left off after installing the ice and water protector, and cover the entire length of the roof slope with the underlayment felt. Make sure that everything is parallel. You can use chalk lines to help you here.
Step 6: No matter how good of a handyman you are, we are human, and humans make mistakes. After you think you are finished, be sure to properly inspect your work, and if you see any imperfections, correct them right away.
If you do all this correctly, you will prevent leaks and ice dams from damaging your property. If you live in an area with high winds and extreme weather conditions, you should consider reinforced roofing materials. You can never be too safe.
Installation Phase 2: Shingling the Main Roof Surface Area

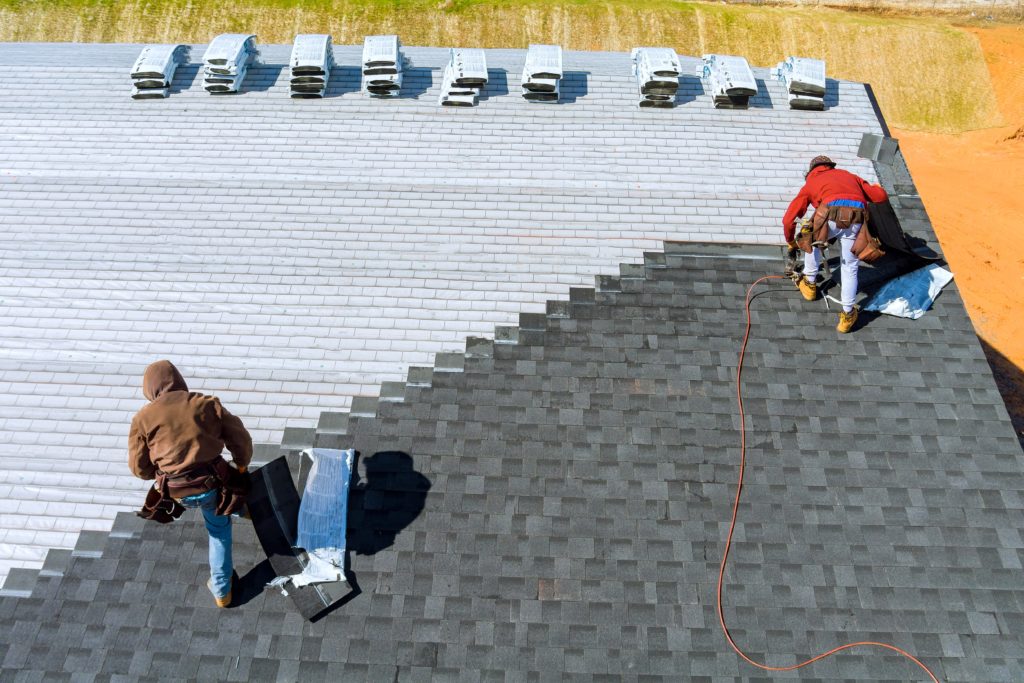
When the first installation phase is complete, it’s time to initiate the second phase, which is when you will actually install shingles on your roof. Start at the bottom of the main roof surface area and work your way upward.
This is where the chalk line comes into play. Use it to ensure that all rows are straight and parallel to each other. When you finish one row, make sure that the shingles are overlapping a little when you start placing the second row. You can also use nails at certain places to reinforce the structure.
If you have done the preparation phase correctly, you will know your roof pitch, which is defined as the angle the roof makes with your horizontal walls. Aligning roofing shingles with this pitch further ensures long-lasting durability.
Installation Phase 3: Working Your Way Around Dormers and Chimneys

This is probably the trickiest part of the entire process, but with the help of this guide, you will know exactly what to do. There are a few things to pay attention to when shingling around dormer roofs, so take a look at our tips.
- Use your cutting tools to cut the dormer shingles properly and fit tight spaces. Measure three times if needed because there is no turning back once you cut the shingle.
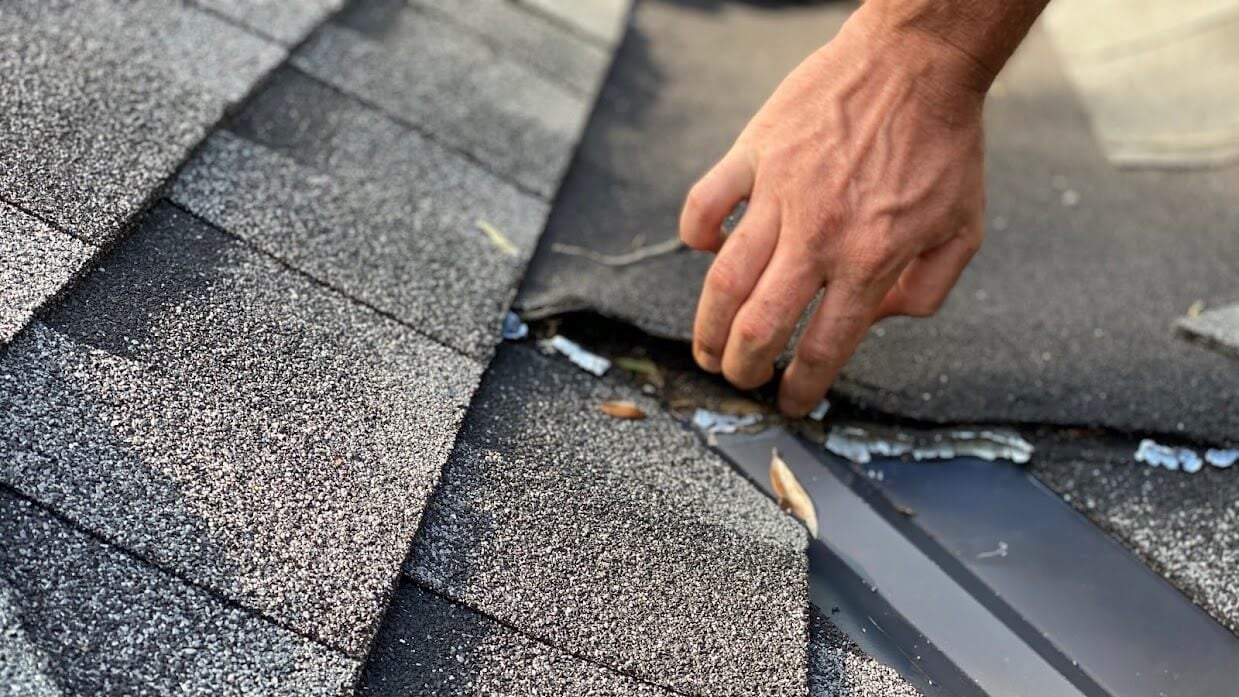
- You can use roof flashing (a thin metal material) at intersections and around dormer windows. This is instrumental in preventing leaks in these difficult areas.
- Properly cut the shingles to ensure smooth transitions between the main roof and the dormer ridge. If you don’t, the roof will look bad, and the chances of a water leak and other issues will increase.
- Barrel dormers are tricky because of their round shape, but you can get special barrel dormer shingles to help the process. Gable dormers, on the other hand, are more straightforward but certainly not easy.
These jobs tend to become repetitive, and we can lose ourselves in thought while working, so stay concentrated and work slowly. Triple-check everything if needed, but when it’s done, it should be perfect.
Installation Phase 4: Tips for Handling Valleys, Ridges, and Roof Edges

Here’s another tricky part, but if you manage to work your way around dormers and chimneys, then valleys, ridges, and roof edges will be manageable as well.
Special valley shingles make things a lot easier. You can use the closed-cut valley method and get a clean finish quickly. The valleys will have a straight cut just a few inches from the center of the roof.
When it comes to ridges, you should install ridge cap shingles along the entire dormer ridge and the main ridge of the roof. That will ensure that everything looks smooth and uniform.
Finally, all roof edges must be secured. You do this by trimming any excess materials and adding flashing to prevent water intrusions.
Installation Phase 5: Final Touches and Inspection

You are almost done. What’s left is to ensure that everything you did thus far was done correctly. Start by ensuring that all exterior features, such as walls, eaves, and roof edges, are installed correctly. Check for gaps or misaligned shingles. If you notice something, fix it immediately to prevent leaks.
Don’t rush it. Inspect the entire roof and address potential weak points, especially around critical areas like dormers and ridges. If everything is done correctly, you can take a deep breath and relax, knowing that your work is done.
What are the Cost and Additional Considerations?
The final price of adding shingles to an entire hip roof with four dormers can be anywhere between $24k and $36k. The final price will depend on many factors, including the size and complexity of the roof and the contractor you choose to help you.
If you go for premium roof tiles or additional protective features, the price can go up further, but the longevity and quality of the roof will also go up. It’s important to note that you should seriously consider hiring professional help for such complex projects involving new dormers or intricate roof planes.
It’s simply the best way to ensure that everything is done properly.
Conclusion
As we have explained in this text, if you want to properly shingle a hip roof with four dormers, you need to go through a thorough preparation phase and then five separate installation phases. Each one will present you with a set of challenges that you need to overcome.
However, if you purchase high-quality roofing materials and take all the necessary precautions, you will have a good time and feel awesome when you finish. In any case, you should consult a professional roofer whenever you are dealing with intricate designs or large roof areas.


